
It can be frustrating when you are trying to learn how to fix a bike chain. Chain guides are usually put on the sprocket to help keep it properly aligned. A poorly aligned chain can cause soreness and even injury to the rider if not fixed immediately. Here is some information on fixing a bike chain.
The first thing that you should do is to disconnect the chain from the sprocket. This is easy to do with a screwdriver or a wrench. Then, take a deep breath and let out the air.
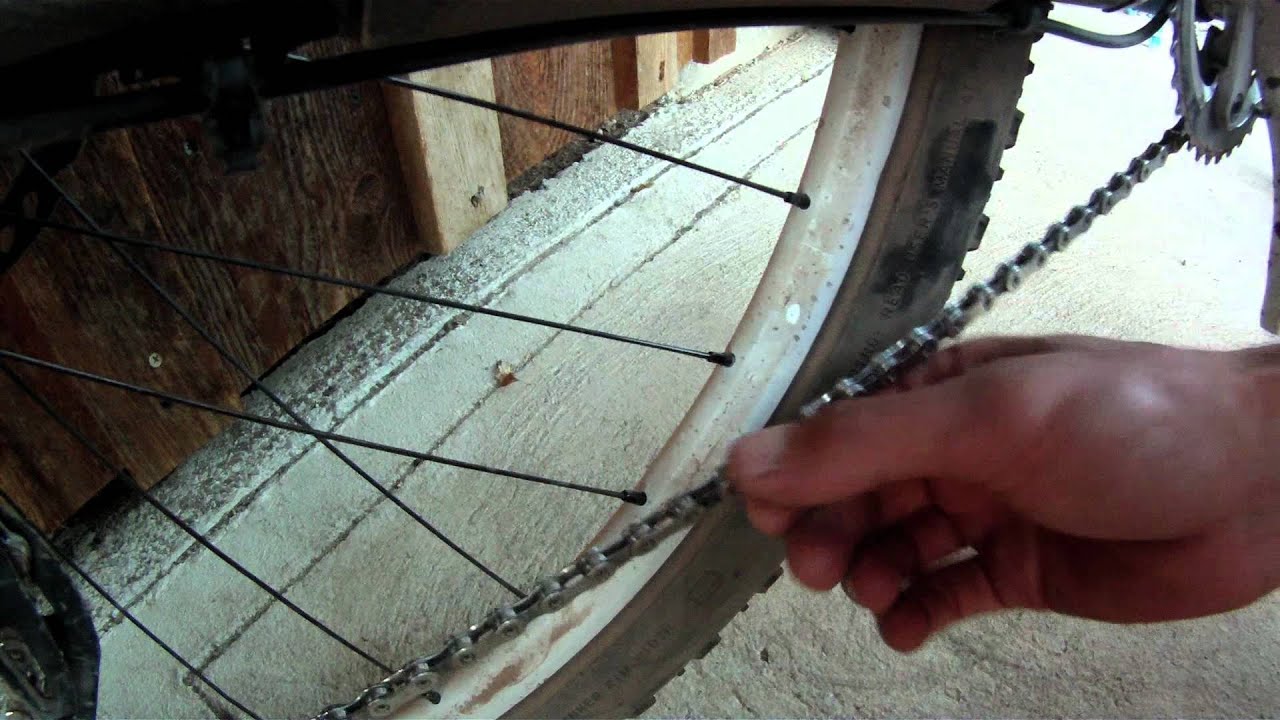
Now, place your palm on the chain and make sure that it lies flat against your palm. Also, check to see if the chain is properly indexed. Usually this will be very straight and level. If not, adjust it so that it is straight and level with your palm.
Slide the chain over the sprocket. Make sure that the chain is lined up correctly. If there is any play in the chain, you will see metal strands in the chain. These are called sprockets.
Use a sharp hook to pull the chain back into position. You may need to work slowly as the chain may be heavy. Be careful not to hurt yourself while pulling the chain back. If you have a pulley system, use the lever instead of the hook to remove the chain.
To complete the task of learning how to fix a bike chain, you should test the chain to see how tight it is. If it is too loose, you should tighten it up a little bit. This will prevent unnecessary wear on the chain. If you find that the chain is perfectly straight, you may have to replace it, or work on making it more balanced.
Another way to straighten the chain is to apply torque to both sprockets. You should start by tightening the most tightly tied chain. Tightening the chain should cause the tooth on the sprocket to pull down and then push the chain straight. You should repeat this process until the chain is even with the sprocket. You may need to adjust the tension of the chain to get the proper amount of force.
It may take a bit of time and patience, but these are the steps you will need to learn how to fix a bike chain on your own. If you cannot straighten the chain yourself, you should consider hiring someone to help you out. There are several mechanics who offer their services to help people learn how to fix a bike. In fact, you can even ask them to come and teach you how to fix a bike chain. They will surely know the right way to fix a broken or crooked one.
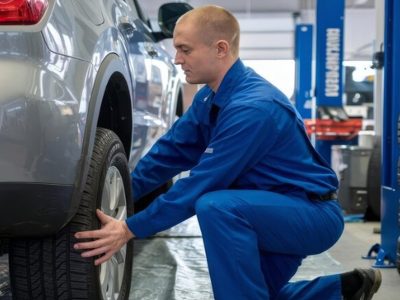
If you find the task of learning how to fix a bike difficult, you may want to get some help from your friends or family members. However, there is no harm in asking them to help you out. If you learn from someone who has experience doing it, you can be more likely to successfully repair the chain. On the other hand, if you do not know anyone who can help you out, you may visit your local repair shop. Most repair shops have mechanics available who can help you out with any problems that you may encounter when fixing your bike.
How to remove a bike chain?

For many, knowing how to remove a bike chain from its sprocket is starting to get on their nerves. Whether you are a beginner or a veteran biker, you can relate to the frustration of your chain getting away from the sprocket. If this has happened to you before, then you understand the frustration that many cyclists face when they attempt to change a flat tire or need to add or deduct some miles from their license. Understanding how to remove a bike chain is a very simple skill to learn. It is important, however, that you follow the proper safety procedures in order to prevent any potentially serious accidents from occurring.
The first step in learning how to remove a bike chain is to identify where the problem is likely to be located. You will want to have a good grasp of the bicycle’s frame and the chain. There are usually three different areas where chain wear can occur. These include the eyelet, the seat tube, and the sprocket.
Eyelets are typically orange in color and can be found on either side of the crankshaft. On the underside of each eyelet, there are usually six or eight small pins that connect to pins on the chain. If you have one or more chain pins sticking out of the eyelet, then you will need to loosen these pins using pliers. On older bicycles, you should use a special tool with a hexagonal head that can help guide the pin removal process.
The next area in which you will need to know how to remove a bike chain is at the chain’s end. To do this, you will need to unscrew the master rivet that attaches the brake pads to the frame. The master rivet is usually black but may be red in color. The number of screws that are located on the braze-on secures the master rivet to the chain.
Once the chain breaker tool is in place, you should carefully examine the chain and remove any unwanted chain pieces. Some of the pieces may be intermingled with the brake pads and the chain may be distorted. With the intermingled pieces removed, take the needle-nose pliers that are included with the tool. In the case of a cable driven system, it is important to install the cable before you take the needle-nose pliers out. This ensures that the cable is properly installed and will not come off. In addition, the pliers will be useful for inserting the chain breaker tool into the slot so that it is securely held in place.
With the chain breaker fully out and attached to the tool, you will need to remove the chain from the sprocket. First, pull off the pin that connects the pinion to the chain by turning it counterclockwise. Then, use the chain breaker to break the connection between the pinion and the sprocket. Again, use the needle-nose pliers to remove the pinion. With the broken pinion removed, insert the new pinion into the chain drive’s slot. Start the process over again so that you do not ruin any of the components when you reconnect the parts.


Comments